
There are two ways to process returns
- From sales screen
- From sales history
Process return from sales screen
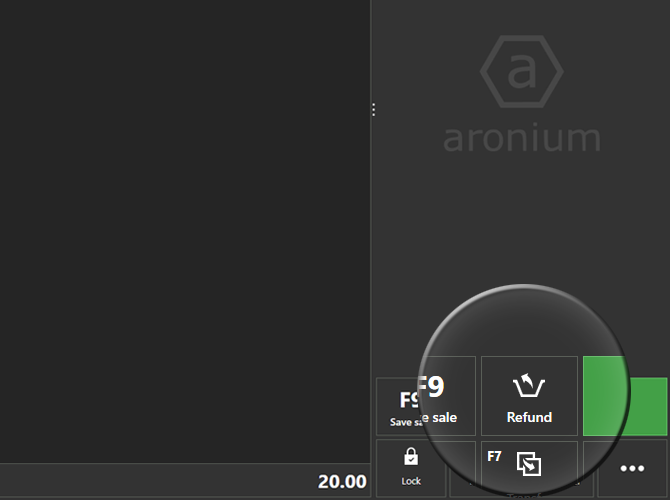
Processing refund from sales screen use the same flow as doing regular sales. Add items you wish to return and press “Refund“.

You can find “Refund” button near “Payment” one, in lower right corner or top button bar, depending on selected layout.
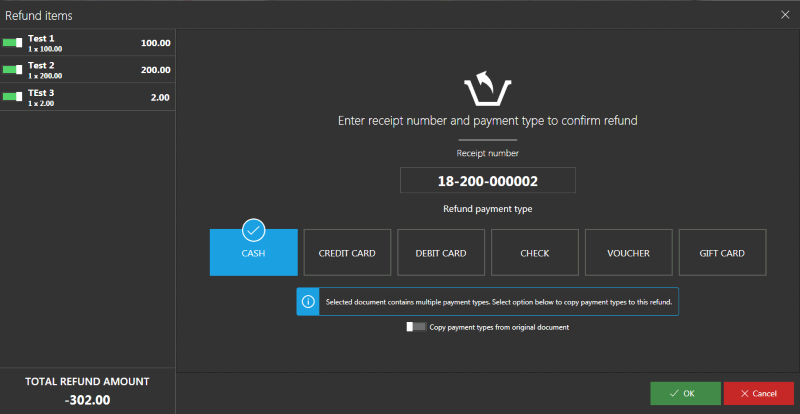
Once you have selected “Refund” option, you will be prompted to enter receipt number and select payment type used for refund.
Refund details screen
Choose items for refund. By default all items from receipt are selected for refund. If you wish to do partial refund just unselect items which does not belong to refund.
Enter receipt number (if required by company policy), select payment type and click “OK“.
Print refund
If you have receipt printer enabled, a refund will be printed as a confirmation of a successful operation.
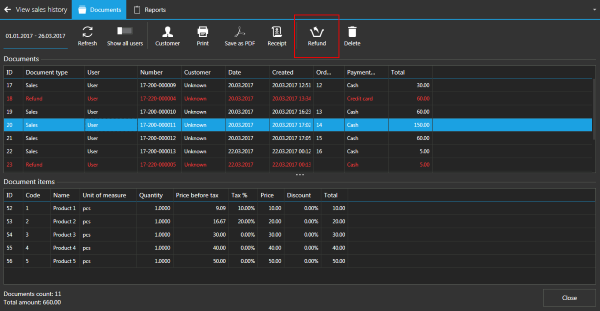
Process return from sales history
Open sales history and locate a sale you wish to return.
Searching for sales made earlier or by another user
If sale was processed earlier, you can view receipts from previous days be selecting different date range.
Also, you can check “Show all users” option, to find a sale made by another user.
Select the one for which you want to do refund and press “Refund“ as shown in picture below.
In refund details screen, receipt number and payment type will be automatically populated.
Click “OK” to complete refund and return items to stock.